Setting Up Lab Environment
From this tutorial, you should be able to set-up a Unix-like environment to simulate the actual Command-Line Interface (CLI)
you face in CS2030 during your lab sessions.
If you are a Mac User, you can use your terminal. But do remember to have jdk-11 installed!
Mac Users have to use MacVim instead of gVim. You can refer to this link!
Setting Up Windows Subsystem for Linux (WSL)
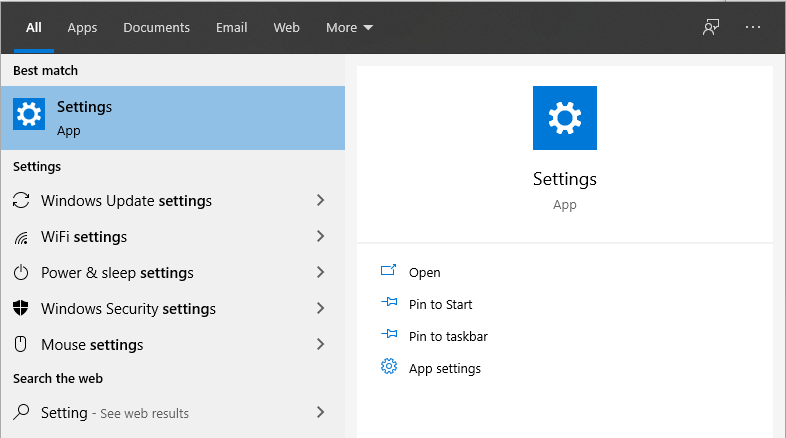
- Go to Settings.
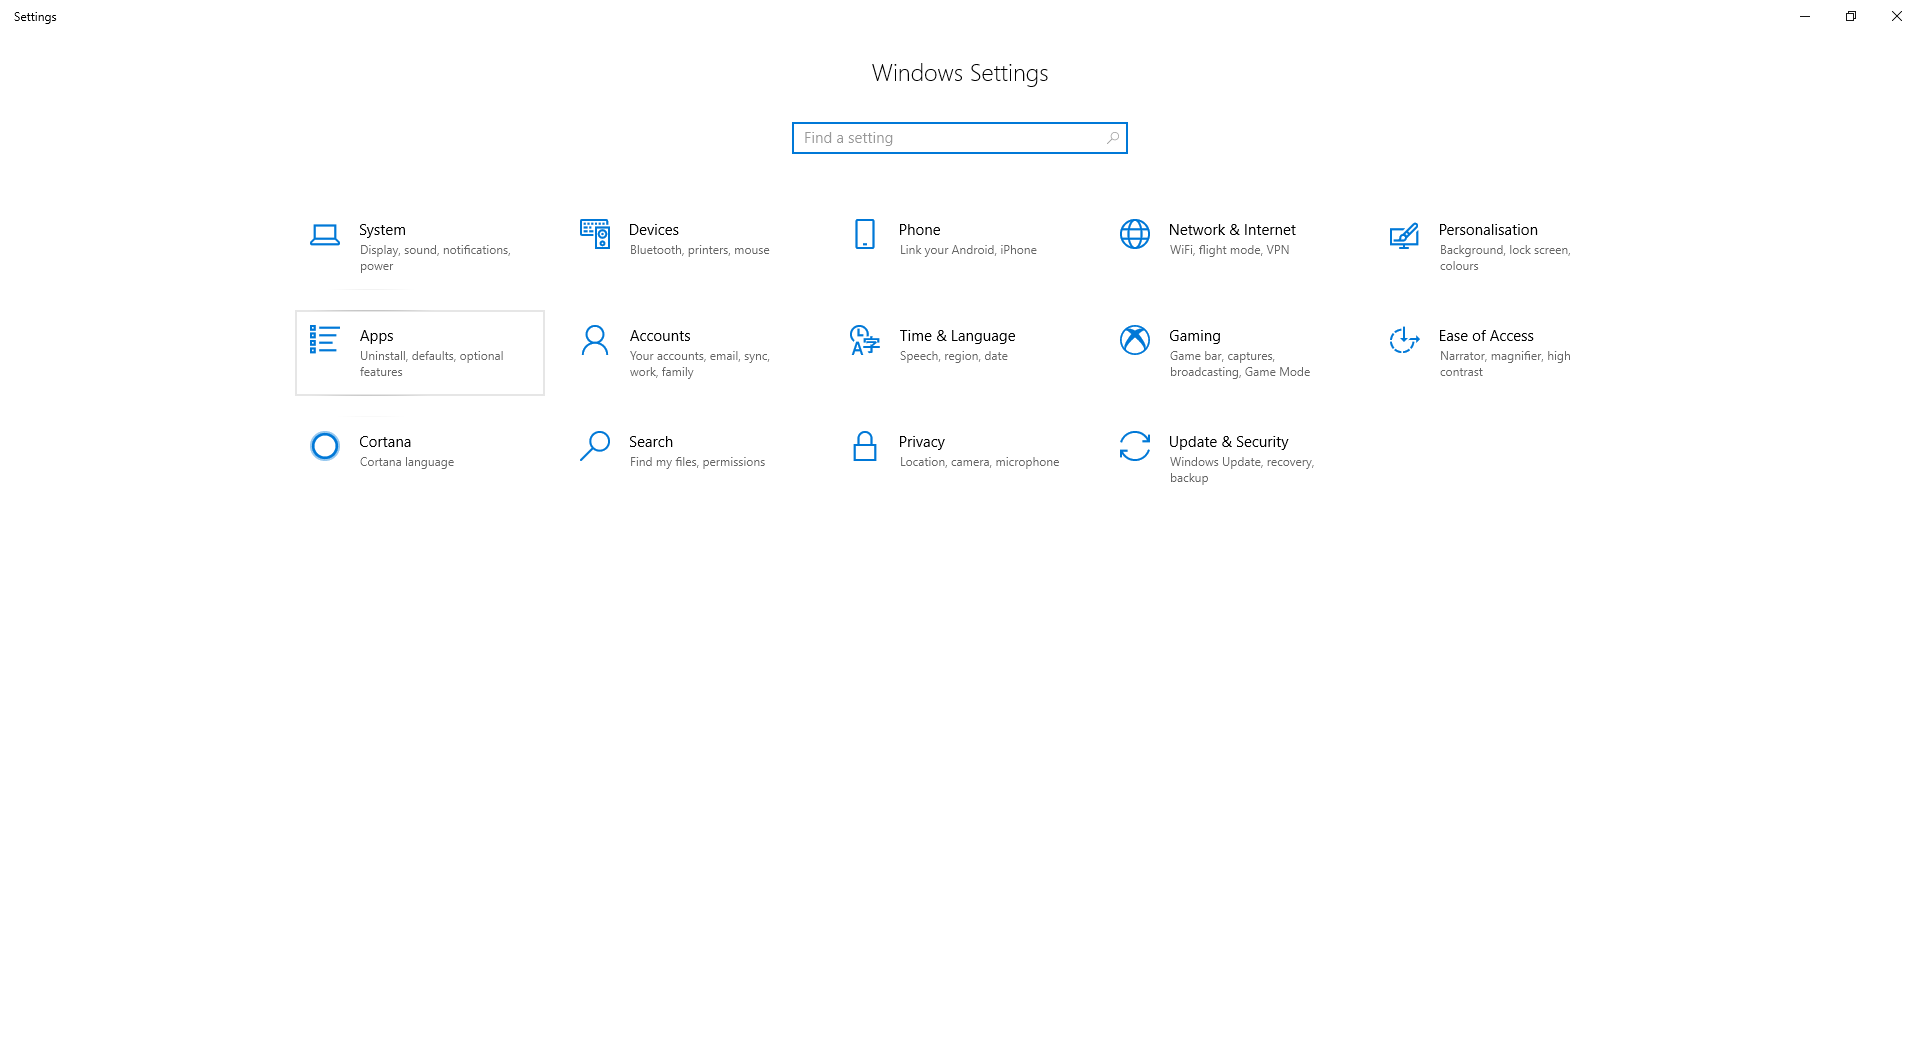
- Go to Apps.
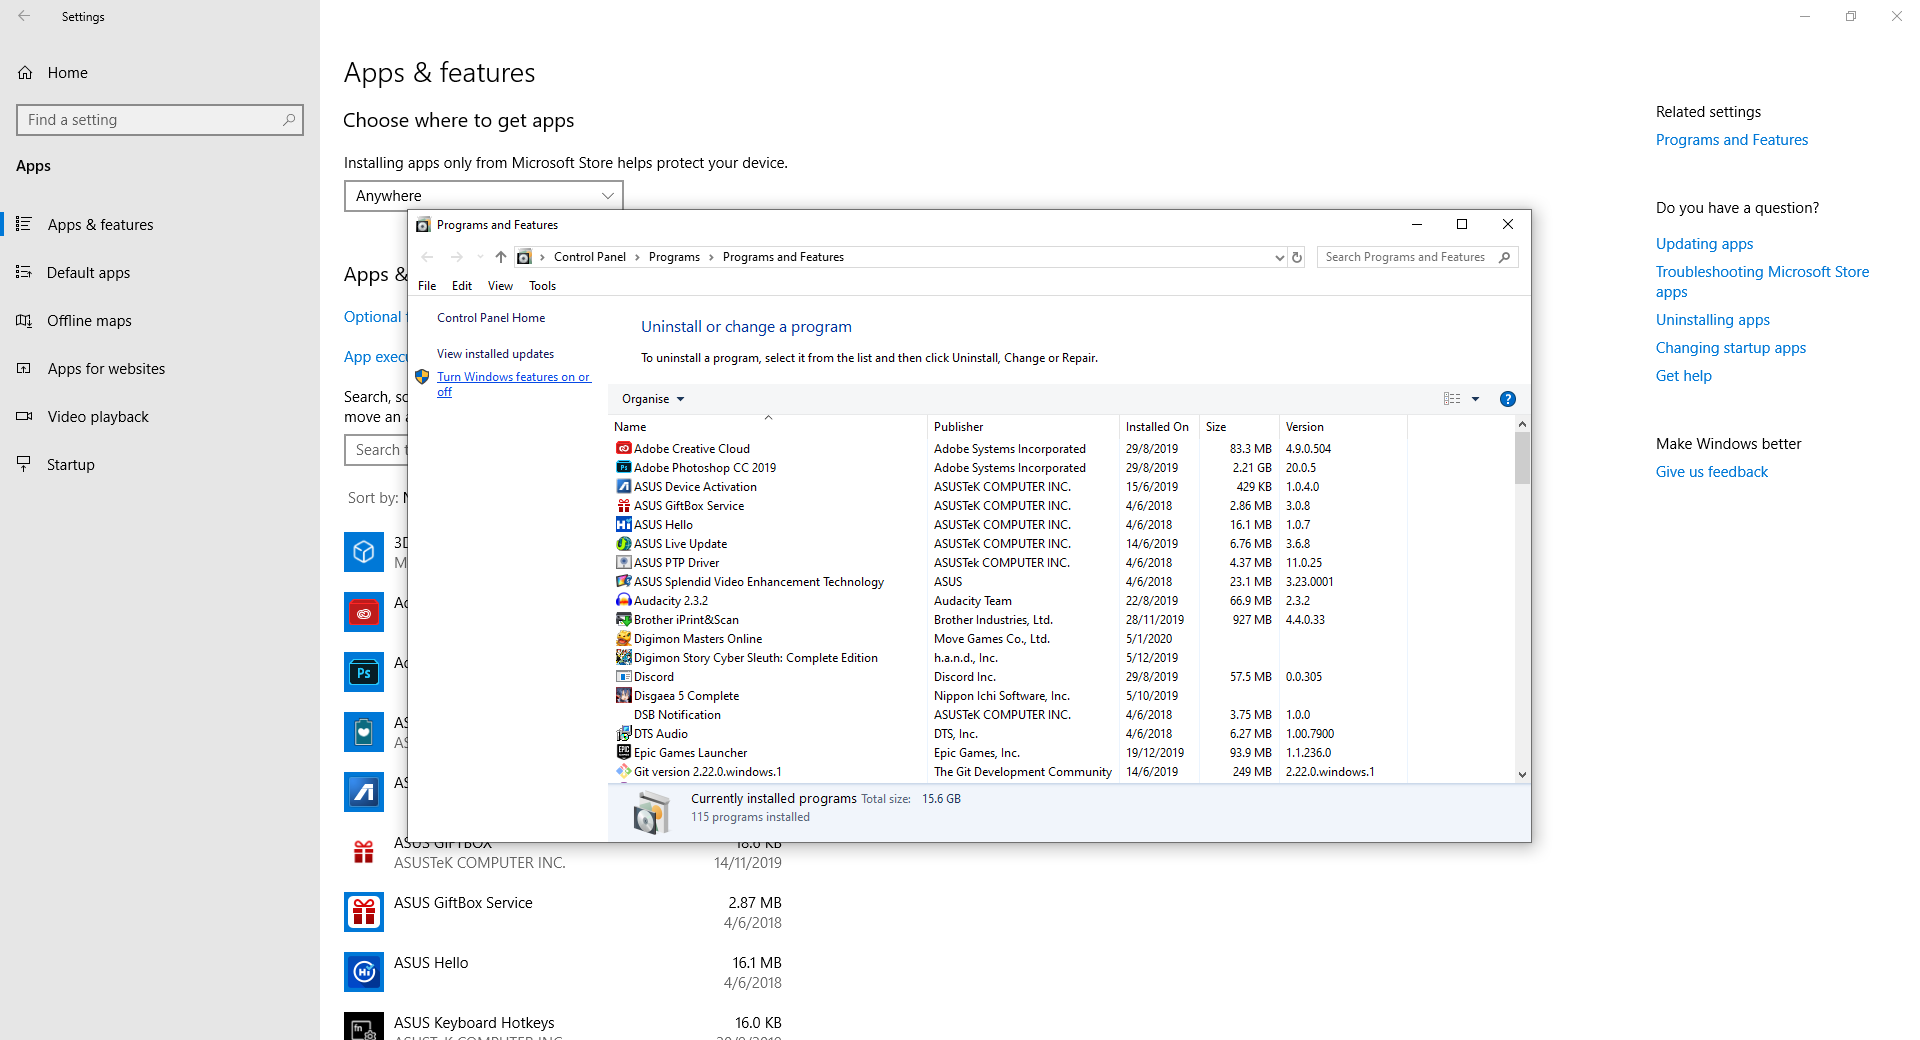
- Under Programs and Features, click the Turn Windows features on or off option.
- Tick the checkbox beside Windows Subsystem for Linux. It will prompt you to restart your computer.
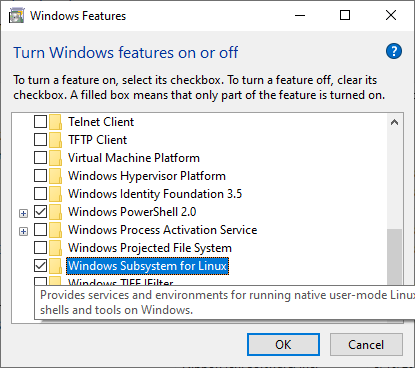
- Congratulations! You have installed WSL for Your Windows Computer!
Downloading XMing for gVim
This is when XMing comes in handy!
- Go to this link and download XMing Installer.
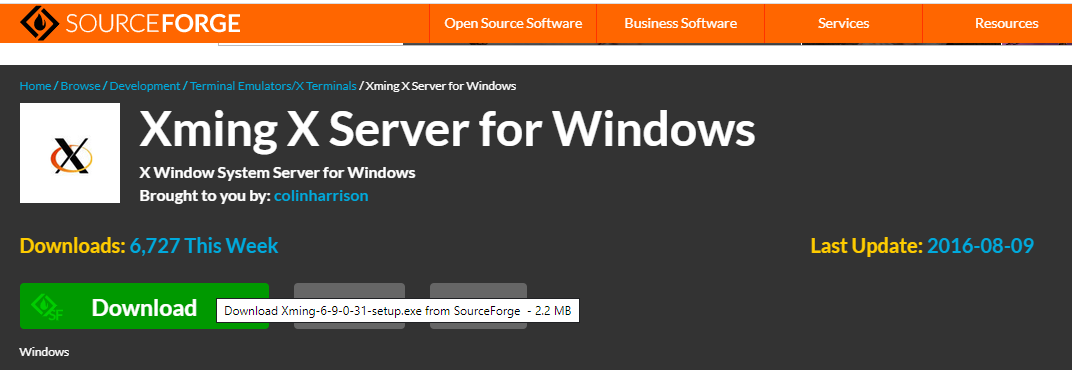
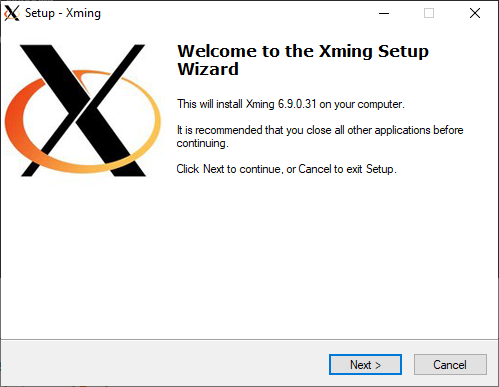
- Open the .exe file and follow the setup.
- To make sure the XMing server runs everytime you startup your computer, add a XMing,.exe shortcut to this directory:
C:\ProgramData\Microsoft\Windows\Start Menu\Programs\StartUp
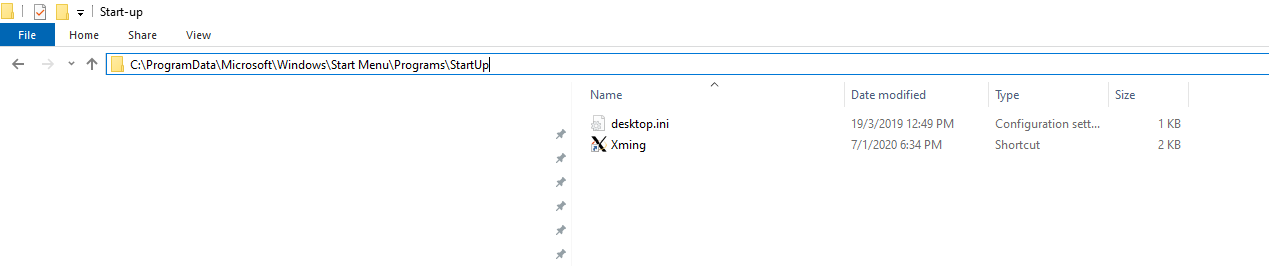
- It should appear under your StartUp Apps.
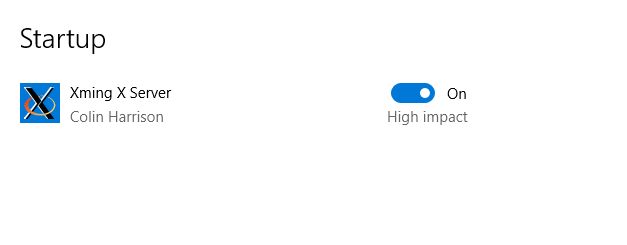
- Do make sure to restart your computer after following this section.
Downloading and Setting Up Ubuntu
- Go to this link and download the Ubuntu Installer! Once it has finished download, launch the application.

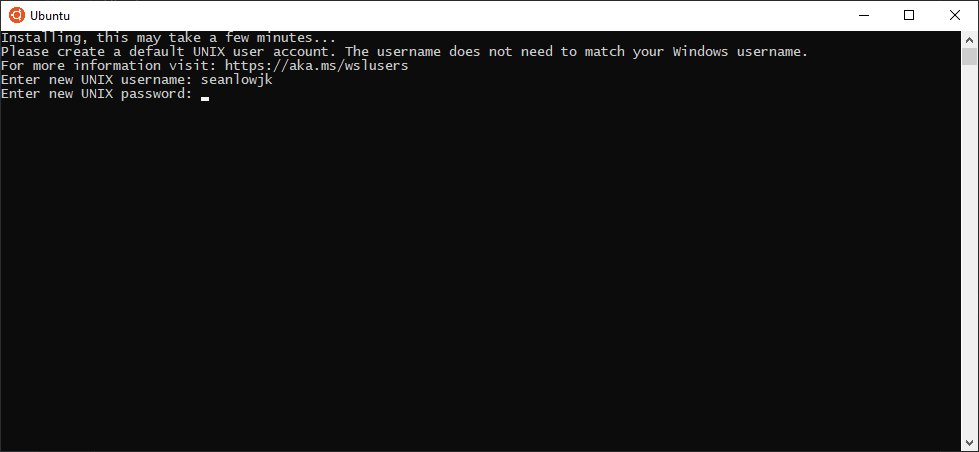
- Once you have launched the application, key in a new Unix username and password. Please remember this password as you would need this to download packages for installation later!
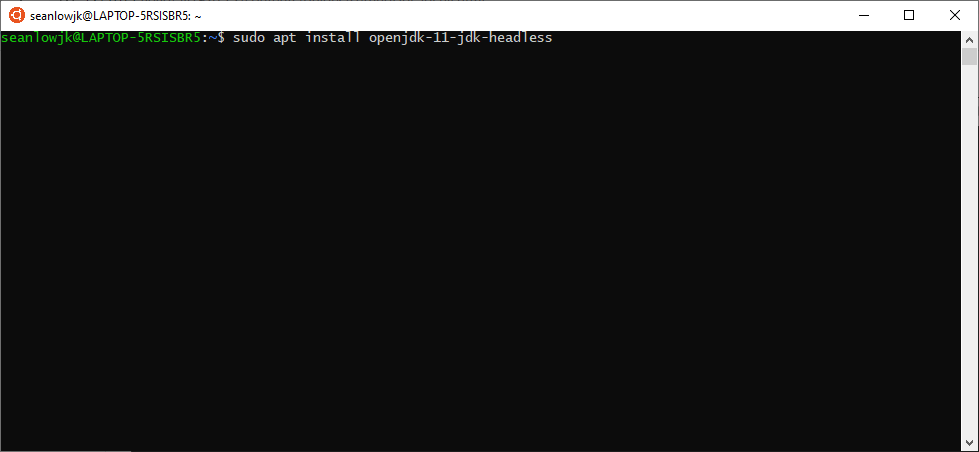
- You are now ready to install the jdk package onto your Ubuntu environment.
To do so, type insudo apt update, followed bysudo apt install openjdk-11-jdk-headless.
-
As gVim is not installed on your Ubuntu environment, you would need to install it yourself.
To do so, type insudo apt install vim-gnome. -
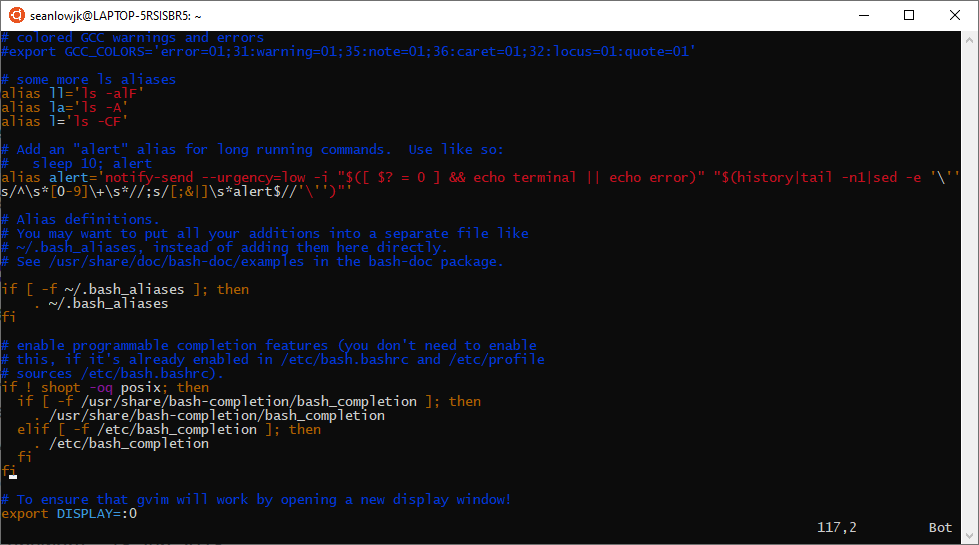
Type in
vim .bashrcand add the last line to your.bashrcfile.
-
Once done, exit the file and restart the Ubuntu application.
-
Now, gVim should work whenever you use the
gvimcommand.
Setting up your .vimrc file
-
You can change your
.vimrcfile configurations to suit your needs. -
Below is a sample
.vimrcfile configration provided for you.
filetype plugin indent on
set lbr nu et ts=4 sw=4 ai si sc bs=2 wb nobk vb so=1 ru ls=2
set ww=b,s,h,l,<,>,[,]
set clipboard=autoselect,exclude:.*
set fo+=r
syn on
- To do so, type in
vim .vimrc, change the configurations and save using:wq.
If you follow all these instructions carefully, you should be able to access your files at this directory:
C:\Users\%USERNAME%\AppData\Local\Packages\CanonicalGroupLimited.UbuntuonWindows_79rhkp1fndgsc\LocalState\rootfs\home