Textbook Contributions
Below is the tutorial on how you can make contributions to our CS2030 Collaborative Textbook using Github. We will be using markdown for the Collaborative Textbook.
Click here or here for a simple Markdown cheatsheet!
If you had prior experience to using Github, this might not be the tutorial for you.
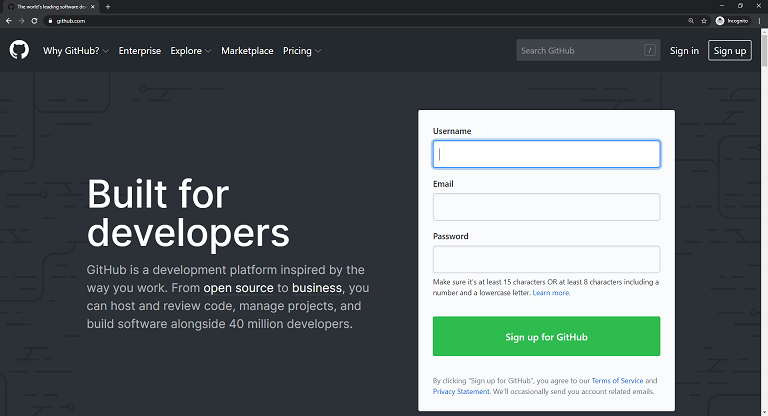
Step 0: Signing Up for Github
Please Sign Up for Github if you have not done so!
Step 1: Adding an Issue to the repository
If you have seen a contribution that has not been made, you can add an issue here.
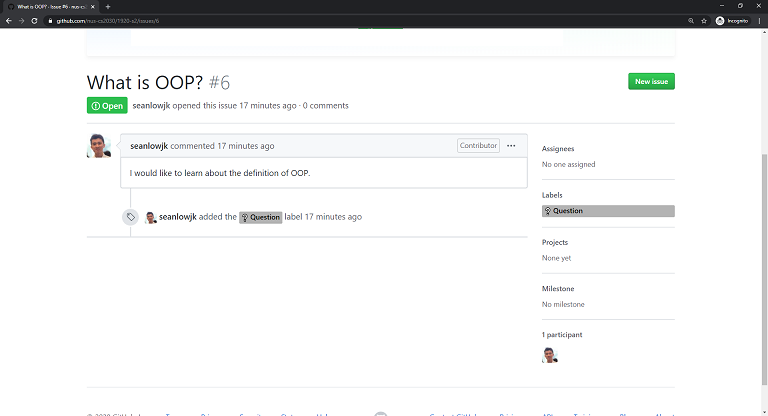
Be sure to give it the following:
- A suitable Title.
- A suitable Description.
- Tags (if necessary).
Our Teaching Staff would then give a suggestion on where you can make this contribution within the textbook.
Step 2: Searching For Issues to the Repository
To Look for Contributions that you can make, go to this link to find an issue which was raised by the Teaching Staff / Your Fellow Peers.
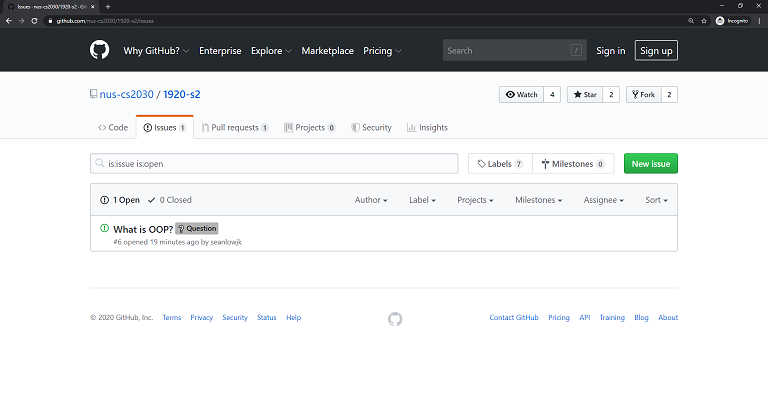
From there, you should be able to see what kind of contributions you can make to the textbook.

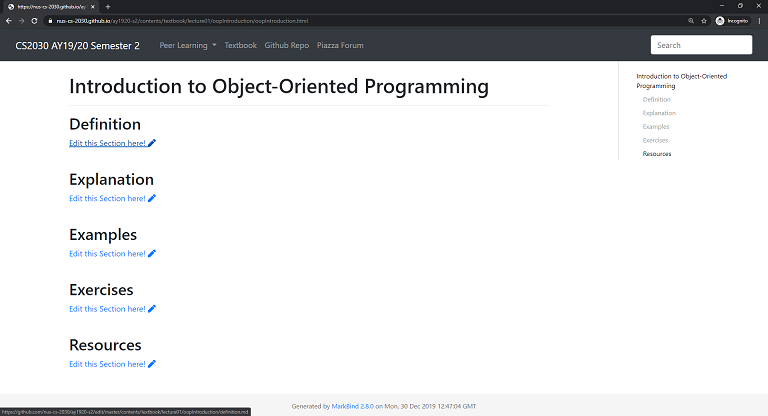
Step 3: Finding the section to edit
While navigating through the textbook, you can click on any of the pen icons to edit the page.
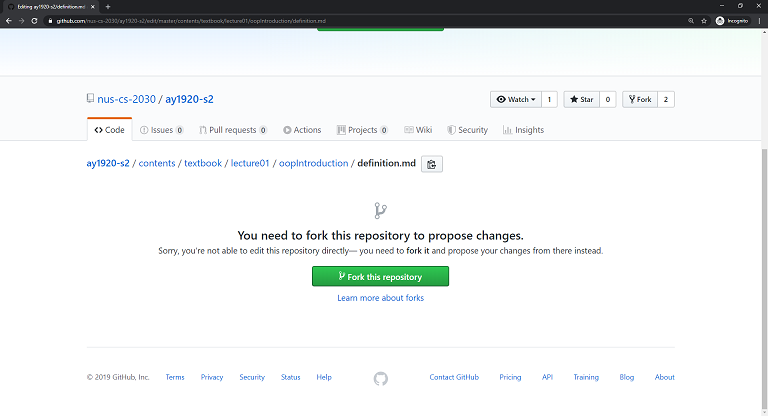
Step 4: Forking the Repository
It will direct you to the Github Repository of this website. From there, you are required to create a fork of the repository.
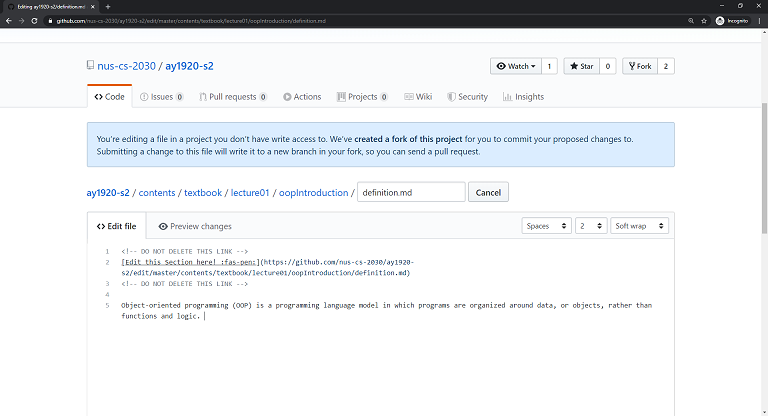
Step 5: Editing using the Markdown editor
You will then create a fork of this repository. Use the Markdown editor to make whatever changes you need to make to that particular section! Try to add in useful information here which is covered / not covered in lectures!
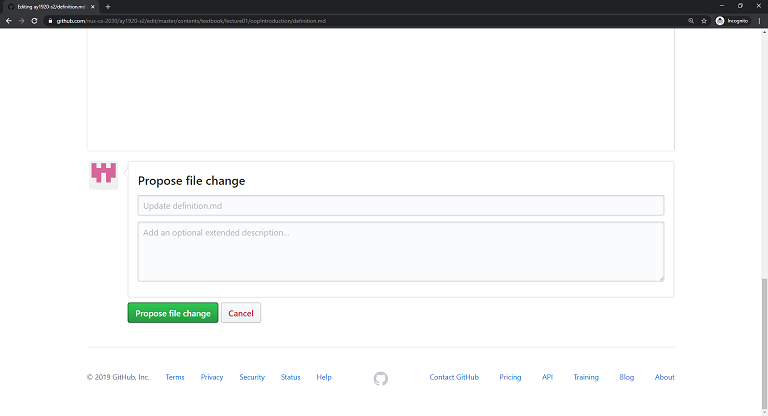
Step 6: Save your file changes
Once done, save and commit your file changes!
Step 7: Create your Pull Request
It will now bring you back to the main repository of the website. As a result, you can create your own pull request to make a contribution to the website.
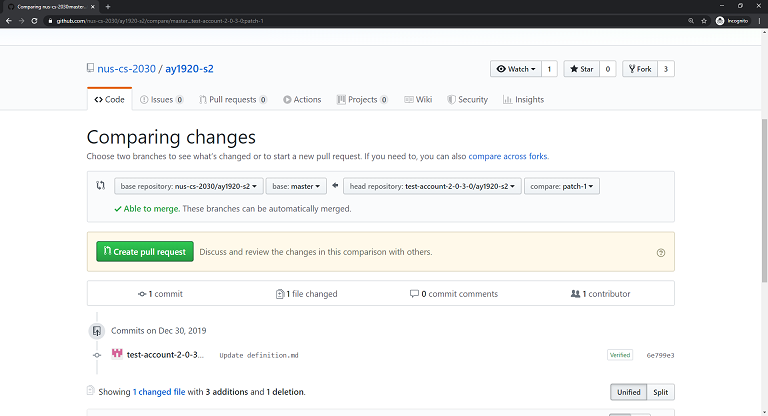
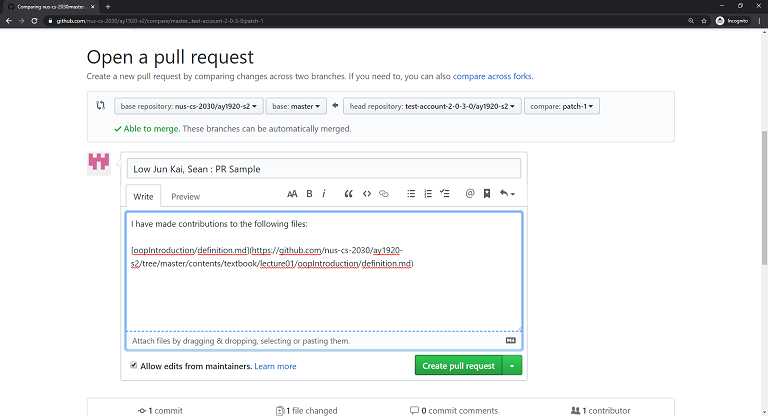
From which, you are required to name your Pull Request in the following format: (full-name) : (Name of PR)
Step 8: View your website changes
Once you have submitted your Pull Request, you can view the changes you have made in a preview website using Netlify!
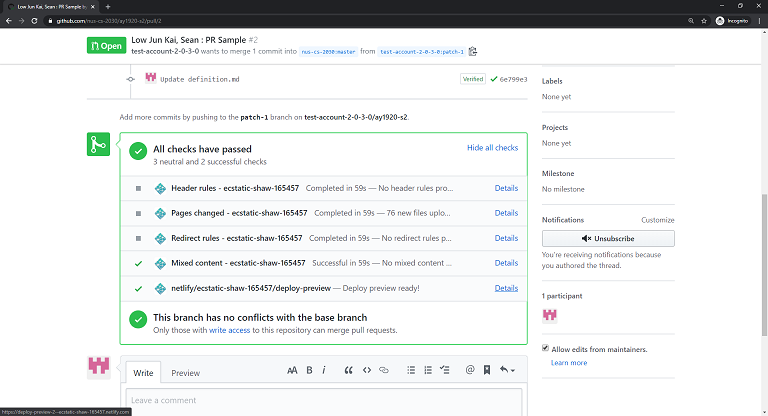
Now, you would have to wait for your Pull Request to be merge in order to gain points for your contribution!
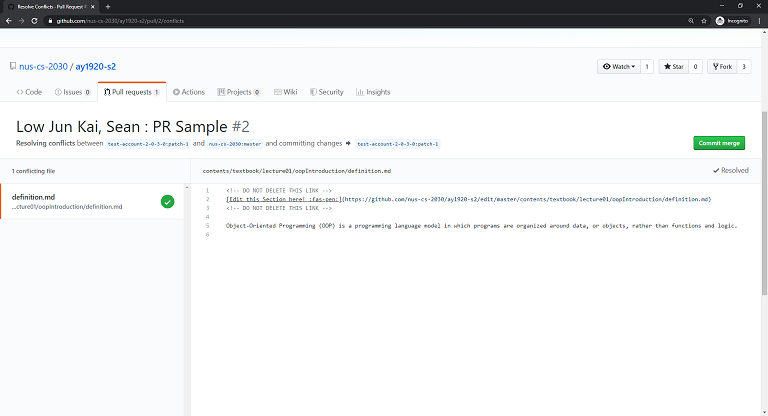
Step 9: Fixing Merge Conflicts
This will most likely happen when you try to edit a file someone has already edited before.
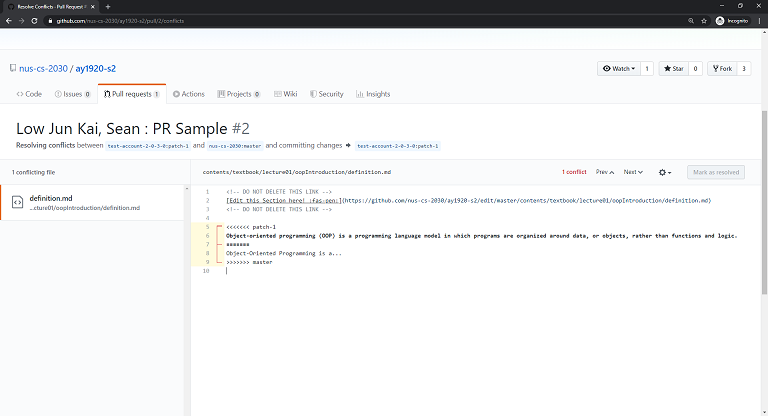
In the event that you have merge conflicts in the file, you are required to resolve them in the event that a Lab TA has not done so.
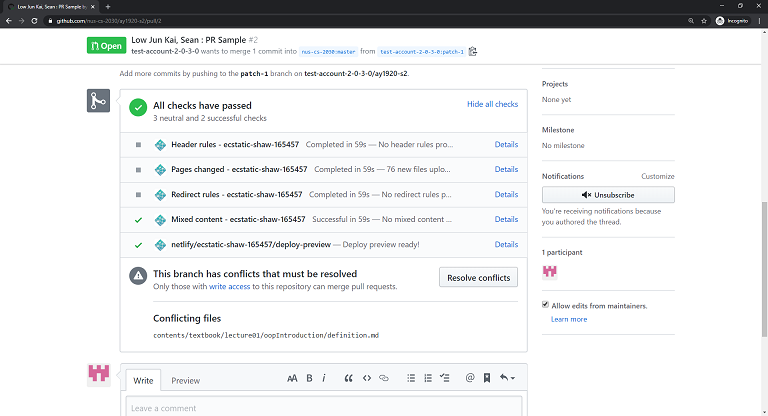
You are required to make the necessary changes so that the merge conflicts are resolved.
Once you are done, you can Mark this merge conflict as resolved.
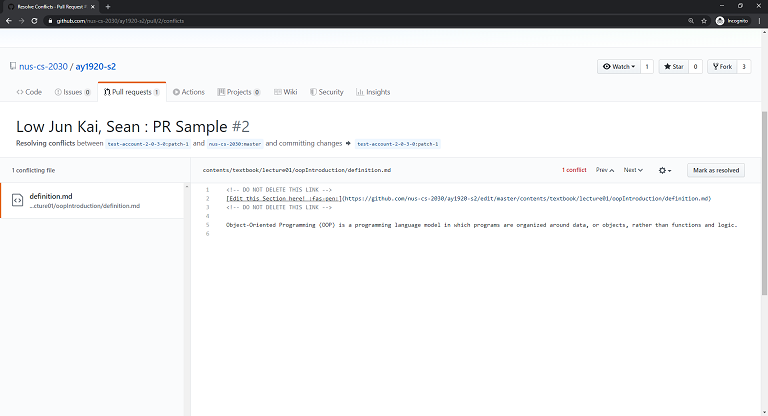
Following which, you can commit this merge.